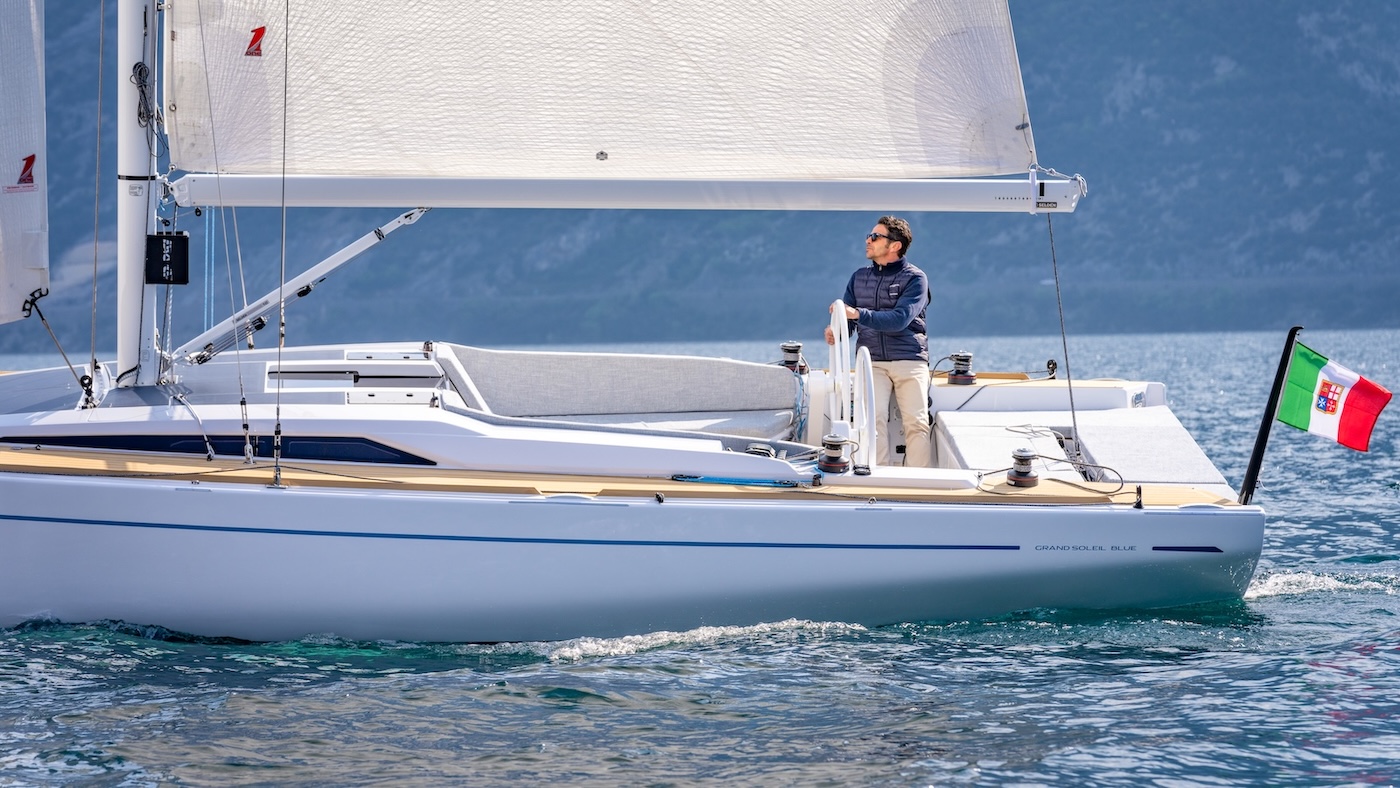
Last May, on the docks of the Marina di Varazze, we took you inside an Arimar life raft for a 20-hour test where we analyzed the functioning of this security device and discovered the many dangers and the few pleasures of an experience like this.
Today, we want to take a step back and give you, almost as if we were in the popular tv show “How it’s made”, an overview of the building and inspection process of a life raft.
In order to explore this building reality and see what are the single steps which convert fabric rolls into perfect heavy pressurized containers ( many people are often concerned about their transportation), we’ll take you to the production facilities of Med Group, the manufacturer of the historic Arimar life rafts.
This way,we hope that our readers can understand the careful and rigorous work behind these items that, every day, can make the difference between our survival and the sea bottom.
The finished product we are going to follow is an Arimar Oceanus PG life raft, the same used during our test, licensed to carry 8 passengers beyond 12 miles from the coast.
Life Raft Construction
Step 1: Cutting, Welding and Test
The ground floor of the Arimar’s production facility based in Cervia is home to the first step of the long construction process that will take the finished life raft directly on our boats.
Within a large area entirely dedicated to the storage of materials and first processing, unrefined PVC rolls are introduced in a semiautomatic cutting machine.
Given the delicacy of the operation and the level of precision required by manufacturing, the plotter is equipped with CAD CAM (Computer Aided Design and Computer Aided Manufacturing) technology.
This technology allows to obtain 3D objects from vector drawings made thanks to special software applications; this way, the different parts which will compose the life raft will be cut with extreme precision, removing errors in their following composition.
Cutting process is followed by a delicate conjunction phase where the single parts, after being cut, are joint together through high-frequency welding technology.
The process consists of supplying energy in the form of an electromagnetic field that, applied to the two plastic parts, will allow them to join together thanks to the pressure exerted by a special press.
This particular technique allows the material to melt and integrate so that, once fabrics have got cold, the welding point between the two parts is as strong as the surrounding material, if not more resistant.
Thanks to this method, the life raft will not lose pressure from its tubes, preventing dangerous waterways from entering the survival cell.
After these first phases, the semifinished product is taken upstairs for the subsequent steps.
Here, in order to make sure that the fist two production phases have been carried out correctly, the life raft, now complete of all its structural parts, is inflated at the proper pressure and tested in its entirety.
Step 2: tanks, bending and pressing
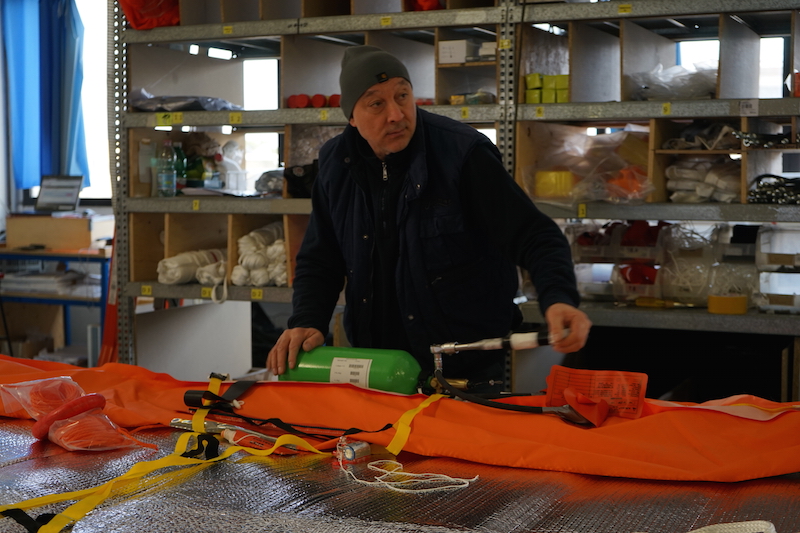
Charge will be automatically introduced inside the tanks, according to the specific amount of air and pressure required by the life raft itself.
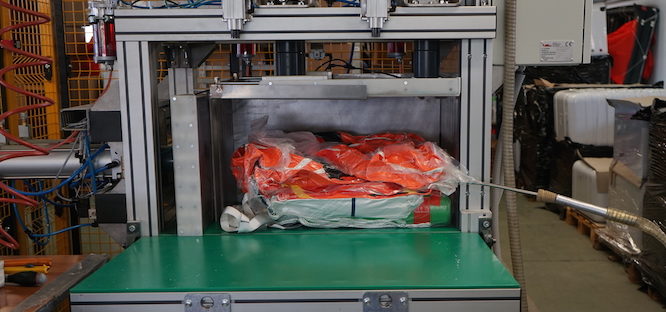
If the raft passes the inflation test, it is deflated and pressed in order to remove air inside. The inflation tank is connected and placed inside the raft and, then, the latter is first spread out on special work tables and finally bent, ready to be pressed and packed.
An automatic compactor presses and packs the raft, making sure that the package is of the right size and therefore able to enter the rigid shell or the protective bag.
Step 3: Equipment preparation and final packaging
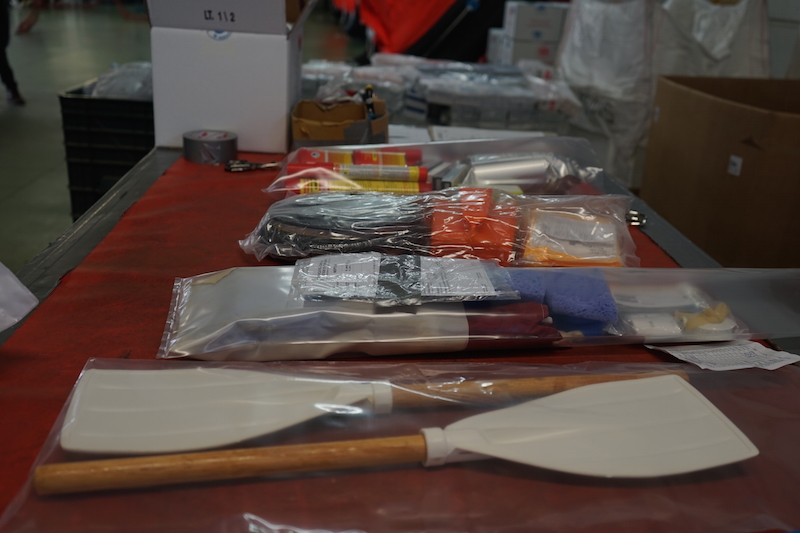
Some devices are ready to use and put directly inside the raft; others, like in our case, are placed inside the grab bag, offered as a part of standard equipment.
The Arimar Oceanus PG life raft includes the following equipment:
Raft: floating anchor with 30-meter rope, floating ring + floating line, 2 paddles, knife, two tent supports, bailer, 2 sponges, whistle, repair kit, manual inflating pump, interior user manual, 12 sea-sickness bags, watertight torch with batteries and spare light; 3 red hand flares; parachute rocket, helipgrah, 0.5 liters of water rations per person and 6 sea-sickness tablets per person.
Grab bag: 8 sea-sickness bags, 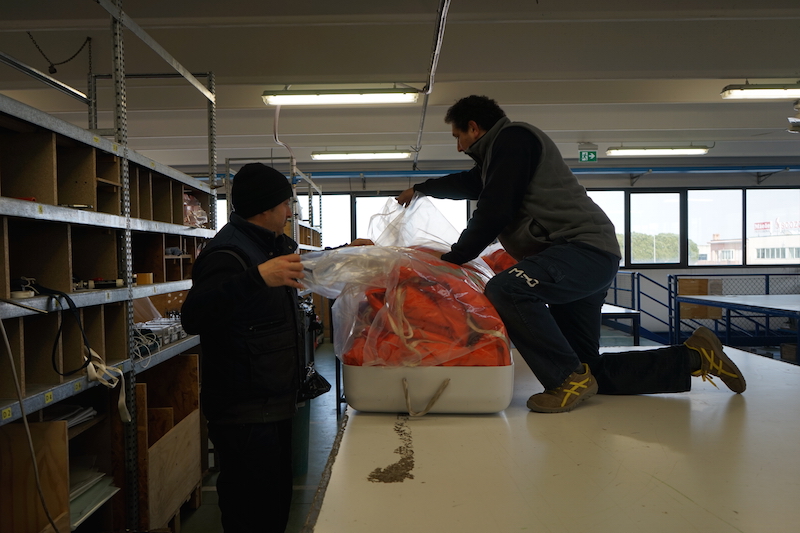
Once packed, the raft is put inside its container, paying special attention to the trigger wire that is passed through a hole that opens to the outside so that opening mechanism and the subsequent raft inflation can be carried out with a simple pull. Finally, the product is sealed and ready for delivery.
Raft Inspection
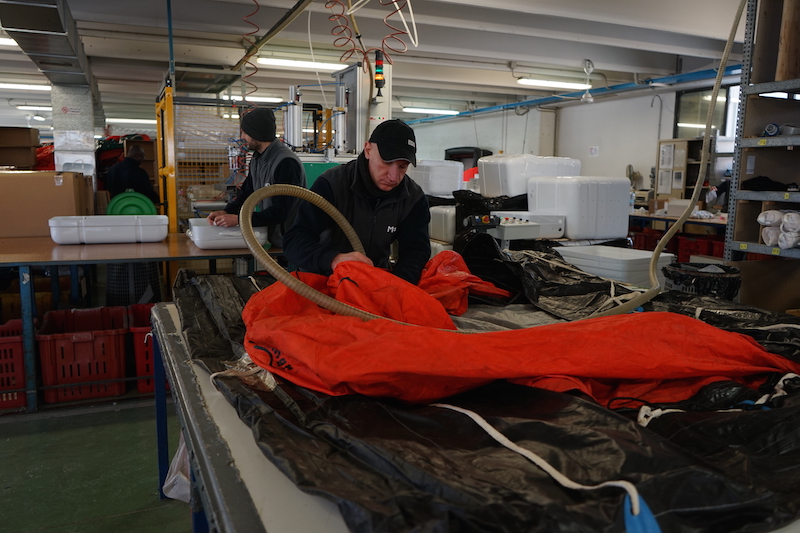
The question is: what does inspection consist of?
First of all, it is important to say that periodic inspection must be carried out by the manufacturer. So, in our case, rafts should be sent to the Cervia-based establishments of Med Group and, more precisely, to the Arimar productive department.
Let’s find out together the different steps of extraordinary inspection.
As you can imagine, the first (and the most important) 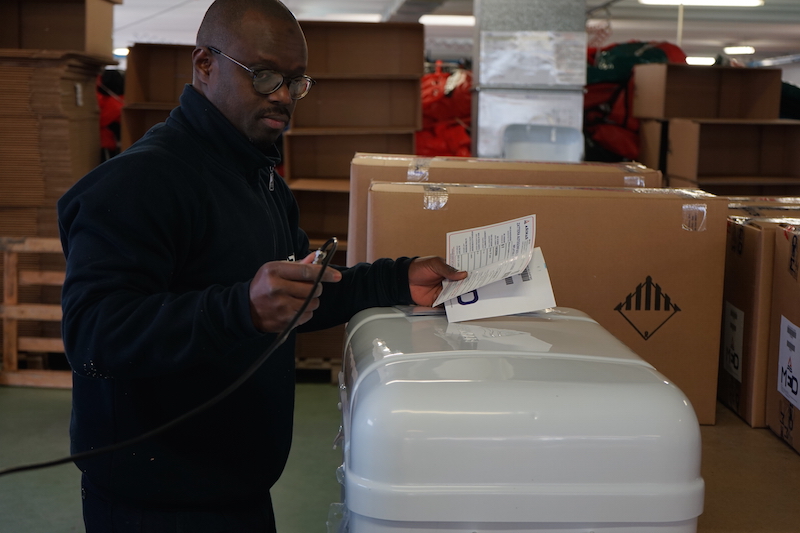
Finally, the raft is bent again and packed, following the same procedures used for new rafts. Once it is given back to its owner, the life raft will be perfectly efficient again.

